Homemade Halloween Confetti with Cookie Cutters
Get ready to add a sprinkle of spooky fun to your Halloween celebrations! This guide will show you how to create your own festive Halloween confetti using simple ingredients and cookie cutters. It’s a fantastic way to get creative, involve the kids, and add a personal touch to your party decorations, treat bags, or even spooky-themed crafts. We’ll explore different materials, techniques, and design ideas to make your Halloween confetti truly unique. Plus, we’ll touch on some creative ways to use your finished product, from table decorations to adding a pop to your Halloween cards. Let’s dive in and get crafting!
Crafting Spooktacular Halloween Confetti
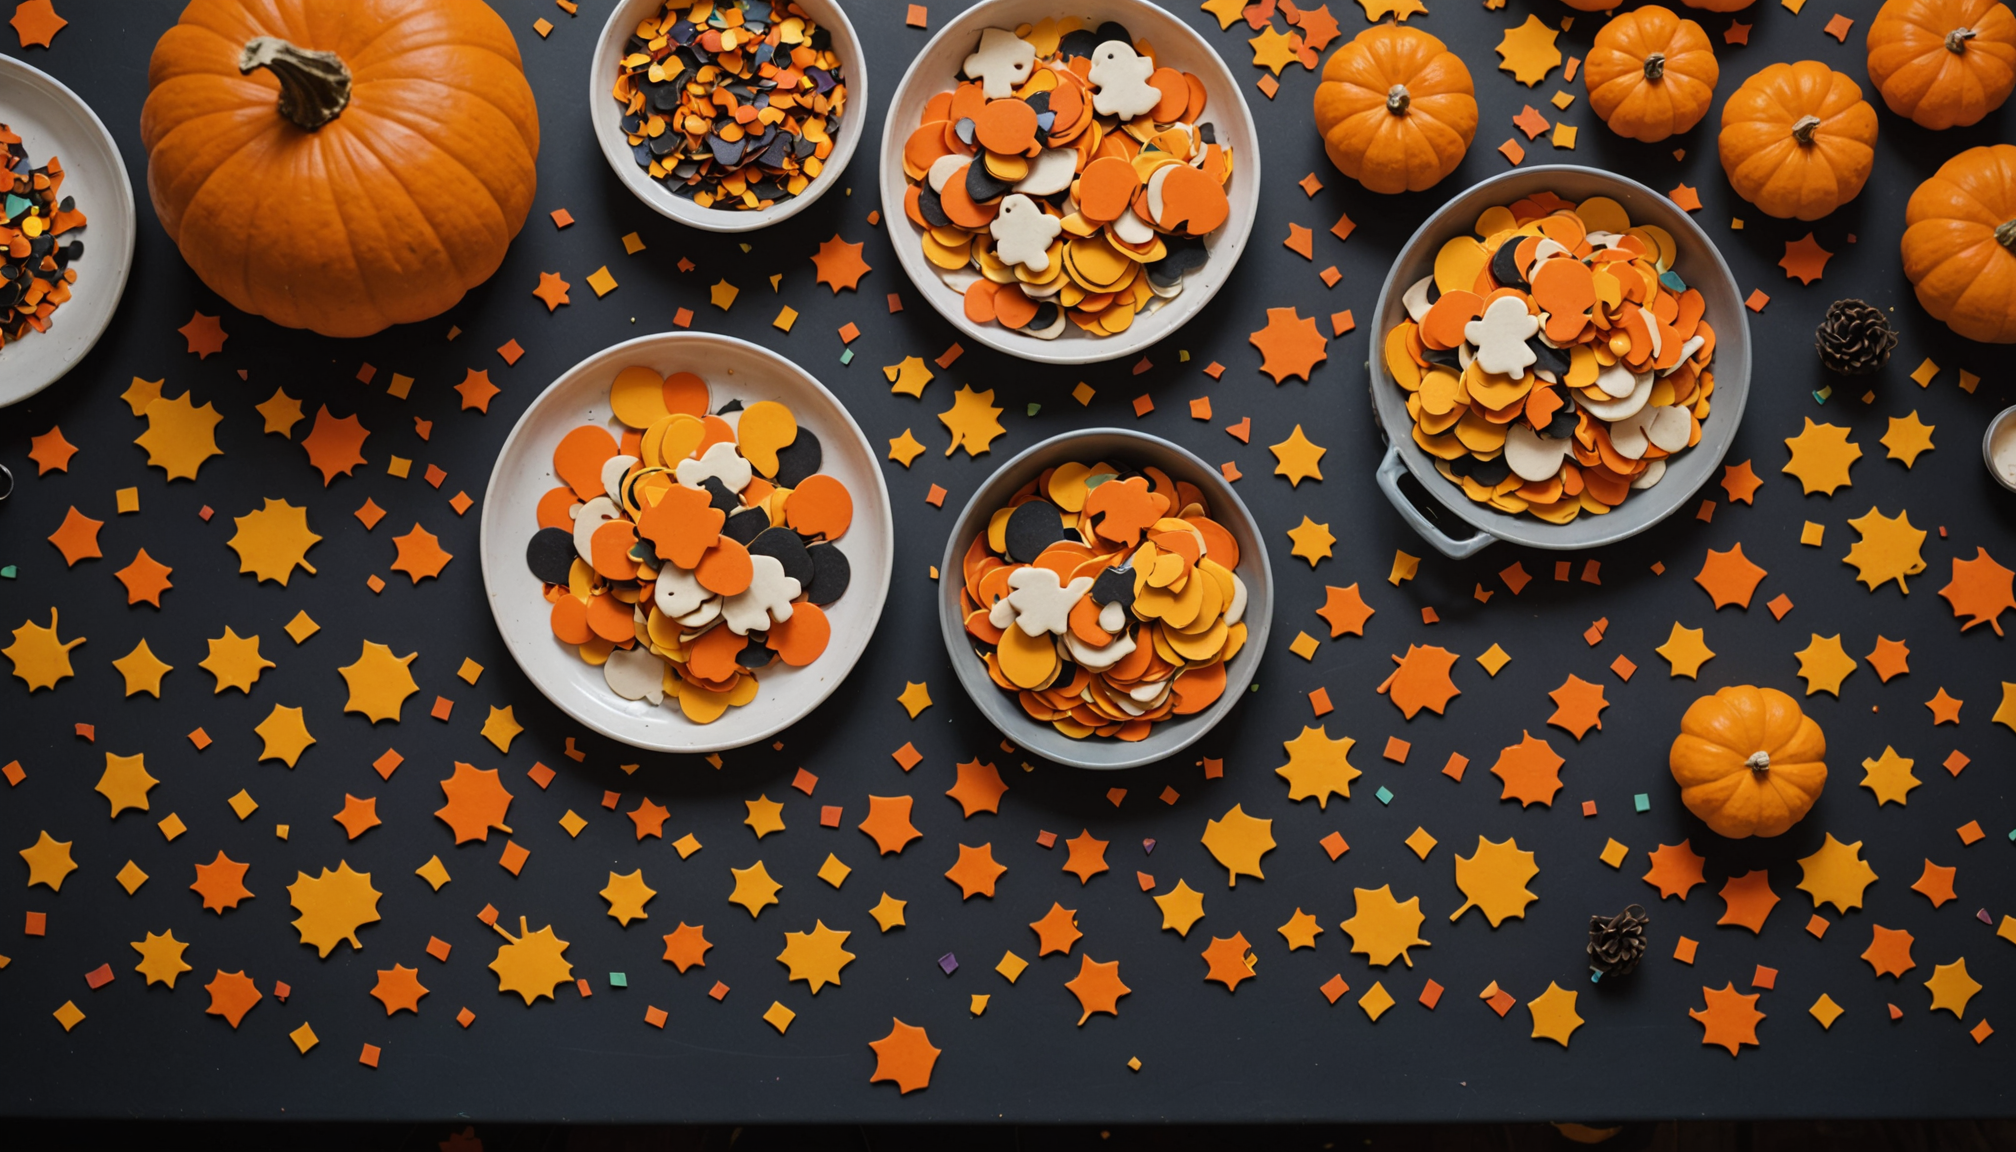
Making your own Halloween confetti is surprisingly easy and allows for endless customization. One of the most popular methods involves using colorful paper or cardstock and cookie cutters in Halloween shapes like pumpkins, bats, ghosts, and skulls. Simply trace the cookie cutters onto the paper, cut out the shapes, and you’re ready to go! For a more eco-friendly option, consider using dried leaves collected from your yard. Punch out shapes using your cookie cutters, or even use a hole punch for simple, round confetti. You can also add glitter, paint, or other embellishments to make your confetti extra special. Think about using metallic paper for a shimmering effect or adding googly eyes to your ghost confetti for a playful touch. The possibilities are truly endless, limited only by your imagination and the supplies you have on hand.
Another fun material to use for homemade confetti is tissue paper. Tissue paper is lightweight, comes in a wide array of colors, and is easy to cut. Layer several sheets of tissue paper together, place your cookie cutter on top, and carefully cut around the shape. This method allows you to create multiple confetti pieces at once, saving you time and effort. Consider using different shades of orange, black, purple, and green for a classic Halloween color palette. You can also experiment with different textures of tissue paper, such as crinkled or metallic, to add visual interest. For a truly unique touch, try using patterned tissue paper with Halloween-themed designs. Remember to cut on a protected surface to avoid damaging your work area.
For a biodegradable option, consider using dried flower petals. Collect petals from flowers like marigolds, chrysanthemums, and roses in autumnal colors. Allow the petals to dry completely, then use a hole punch or small cookie cutters to create your confetti shapes. This method is not only eco-friendly but also adds a touch of natural beauty to your Halloween celebrations. You can even add a few drops of essential oil, such as cinnamon or clove, to give your confetti a festive scent. Imagine scattering this fragrant confetti on your Halloween table or using it to decorate your front porch. It’s a simple yet elegant way to celebrate the season while being mindful of the environment. This is a great way to use up flowers from your garden that are past their prime.
Creative Uses for Your Halloween Confetti
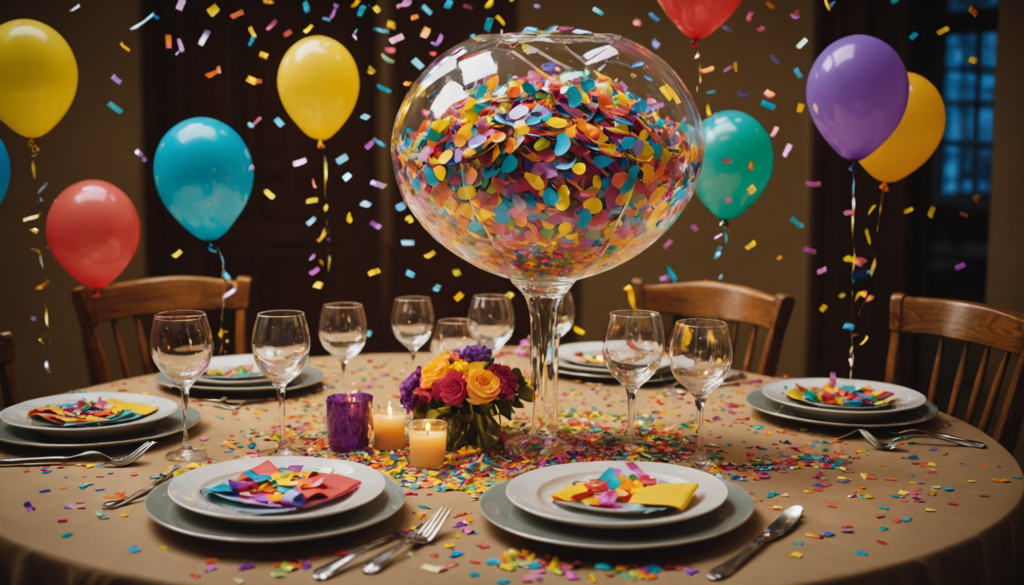
Once you’ve created your spooky Halloween confetti, the fun really begins! There are countless ways to incorporate it into your Halloween decorations, party favors, and crafts. One popular idea is to use it as table scatter to add a festive touch to your Halloween dinner or party buffet. Simply sprinkle the confetti around your centerpieces, plates, and serving dishes for an instant pop of color and fun. You can also use it to fill clear ornaments or jars for a unique and eye-catching display. Consider layering different colors and shapes of confetti to create a visually appealing effect. For example, you could combine orange pumpkin confetti with black bat confetti for a classic Halloween look. Or, you could create a spooky graveyard scene using gray and white ghost confetti.
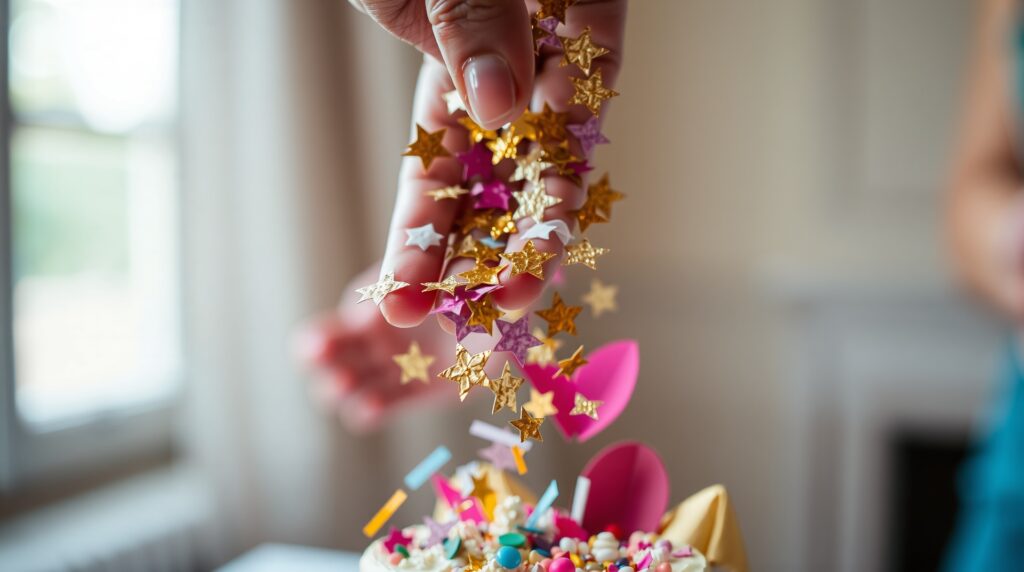
Another creative use for your homemade confetti is to add it to treat bags or party favors. A small handful of confetti can instantly transform a plain treat bag into a festive Halloween surprise. You can also use it to decorate Halloween cards or invitations. Simply glue the confetti onto the card in a fun and creative pattern. For example, you could create a confetti border around the edge of the card or use it to form a spooky Halloween image. Consider using different sizes and shapes of confetti to add dimension and texture to your designs. You can also add other embellishments, such as glitter, sequins, or ribbon, to further enhance your creations. This is a great way to personalize your Halloween greetings and make them extra special.
Case Study: The “Spooky Sprinkle” Success
Local crafter, Emily Carter, started making and selling her homemade Halloween confetti at a local farmers market. She focused on unique shapes and color combinations, and offered biodegradable options. Her “Spooky Sprinkle” mix, featuring ghost, bat, and pumpkin shapes in eco-friendly paper, quickly became a best-seller. Emily attributed her success to the personal touch of homemade items and the growing demand for sustainable party decorations. She expanded her business online and now ships her confetti creations nationwide, proving that a little creativity and a focus on quality can go a long way.
Confetti Safety and Storage
While confetti is generally safe, it’s important to take a few precautions, especially when children or pets are involved. Always supervise young children when they are playing with confetti to prevent them from swallowing it. Choose non-toxic materials for your confetti, especially if you plan to use it around food or drinks. Avoid using small, sharp objects that could pose a choking hazard. When using glitter, opt for biodegradable options to minimize environmental impact. After your Halloween celebrations, be sure to clean up the confetti thoroughly to prevent it from being ingested by pets or wildlife. Consider using a vacuum cleaner or broom to sweep up the confetti, and dispose of it properly.
Proper storage is essential to keep your homemade confetti looking its best. Store your confetti in an airtight container in a cool, dry place. This will prevent it from becoming damp, faded, or damaged. Avoid storing it in direct sunlight, as this can cause the colors to fade over time. If you’re using dried flower petals, consider adding a silica gel packet to the container to absorb any excess moisture. Label your containers clearly with the contents and date to keep track of your confetti collection. With proper care and storage, your Halloween confetti can last for years to come, ready to add a touch of spooky fun to your future celebrations.
Consider these storage options:
| Container Type |
Pros |
Cons |
| Airtight Plastic Containers |
Durable, moisture-resistant, stackable |
Can be bulky, not always eco-friendly |
| Glass Jars |
Visually appealing, reusable, eco-friendly |
Fragile, can be heavy |
| Resealable Bags |
Lightweight, space-saving, inexpensive |
Less durable, not as moisture-resistant |
Advanced Confetti Techniques
Ready to take your confetti-making skills to the next level? Explore some advanced techniques to create truly unique and impressive designs. One option is to use a Cricut or Silhouette cutting machine to create intricate and precise confetti shapes. These machines allow you to cut out even the most complex designs with ease, giving your confetti a professional look. You can also experiment with different types of paper, such as vellum or acetate, to create translucent or shimmering confetti. Consider adding texture to your confetti by embossing it with a special tool or using textured paper. For a truly unique touch, try incorporating small embellishments, such as beads, sequins, or charms, into your confetti designs. Remember to use a strong adhesive to secure the embellishments in place.
Another advanced technique is to create custom confetti blends. Experiment with different colors, shapes, and materials to create a unique mix that reflects your personal style. Consider creating a themed confetti blend, such as a “spooky spider” mix with black and silver confetti in spider and web shapes, or a “pumpkin patch” mix with orange and brown confetti in pumpkin and leaf shapes. You can also add a touch of personalization by incorporating monograms or initials into your confetti designs. For example, you could create confetti with the initials of the guest of honor for a Halloween birthday party. The key to creating successful confetti blends is to experiment and have fun with the process. Don’t be afraid to try new things and see what you can create.
“The beauty of homemade confetti lies in its imperfections. Embrace the unique character of each piece and let your creativity shine.”
- Gather your materials: paper, cookie cutters, scissors, and embellishments.
- Trace the cookie cutters onto the paper.
- Carefully cut out the shapes.
- Add embellishments, such as glitter or googly eyes.
- Store your confetti in an airtight container.
Beyond Paper: Alternative Confetti Materials
While paper is a popular choice for making confetti, there are many other materials you can use to create unique and interesting effects. Fabric scraps are a great option for adding texture and dimension to your confetti. Cut fabric into small squares or use cookie cutters to create fun shapes. You can also use felt for a softer, more plush confetti. Dried herbs and spices can add a fragrant touch to your Halloween celebrations. Use a mortar and pestle to grind the herbs and spices into small pieces, then sprinkle them around your table or in your treat bags. Just be mindful of allergies when using food-based confetti. For a more sustainable option, consider using seed paper. Seed paper is embedded with wildflower seeds, so when the confetti is planted, it will grow into beautiful flowers. This is a great way to add a touch of nature to your Halloween celebrations while also being environmentally conscious. When choosing alternative materials, be sure to consider their durability, texture, and overall aesthetic appeal.
Mini Case Study: Sarah Miller, a kindergarten teacher, uses homemade confetti made from recycled construction paper for her classroom Halloween party. She involves her students in the process, teaching them about recycling and creativity. The children love cutting out the shapes and decorating the confetti with markers and crayons. Sarah finds that this activity not only adds a festive touch to the party but also promotes teamwork and environmental awareness. The confetti is a hit with both the students and their parents, who appreciate the homemade and eco-friendly aspect.
Remember to consider the cleanup when choosing your confetti materials. Some materials, such as glitter, can be difficult to clean up, while others, such as dried leaves, are biodegradable and will decompose naturally. Choose materials that are appropriate for your event and your environment. With a little creativity and planning, you can create stunning and unique Halloween confetti using a variety of unexpected materials. The key is to experiment and have fun with the process. Don’t be afraid to try new things and see what you can create. The possibilities are truly endless when it comes to homemade confetti.
Using alternative confetti materials is a great way to add a unique touch to your Halloween celebrations. Consider using biodegradable confetti for an eco-friendly option.
## Elevate Your Celebration: Creative Halloween Confetti Ideas
Beyond simply scattering confetti on tables, consider incorporating it into more elaborate decorations. Create a spooky centerpiece by filling a glass vase with layers of different colored confetti, then adding a few faux spiderwebs and plastic spiders. You could also use confetti to create a unique Halloween banner. Simply cut out triangle shapes from cardstock, glue confetti onto each triangle, and then string them together with ribbon or twine. For a truly impressive display, create a confetti-filled balloon garland. Inflate clear balloons with helium, add a generous amount of confetti to each balloon, and then tie them together to create a garland. This will add a touch of whimsy and fun to your Halloween party. Remember to choose confetti colors that complement your overall theme and décor. For example, if you’re hosting a haunted house party, you might choose dark and spooky colors like black, purple, and gray. If you’re hosting a more family-friendly party, you might choose brighter and more cheerful colors like orange, yellow, and green.
Another creative idea is to use confetti to decorate pumpkins. Instead of carving your pumpkins, try covering them in a layer of glue and then sprinkling them with confetti. This is a great way to add a touch of sparkle and fun to your Halloween decorations without having to deal with the mess of carving. You can also use confetti to create unique Halloween costumes. For example, you could create a confetti-covered witch’s hat or a confetti-covered zombie mask. Simply glue the confetti onto the costume using a strong adhesive. For a truly eye-catching effect, consider using iridescent or holographic confetti. This will add a touch of shimmer and shine to your costume. Remember to choose confetti colors that complement your costume’s overall design. With a little creativity, you can use confetti to create truly unique and memorable Halloween costumes.
Consider the scale of your confetti when planning your decorations. Larger confetti pieces can make a bold statement, while smaller confetti pieces can add a more subtle touch. Experiment with different sizes and shapes of confetti to create a visually interesting effect. You can also use confetti to create a sense of depth and dimension in your decorations. For example, you could layer different colors and sizes of confetti to create a textured effect. When using confetti outdoors, be sure to choose biodegradable options to minimize environmental impact. You can also use a leaf blower to clean up the confetti after your party. With a little planning and creativity, you can use confetti to create stunning and memorable Halloween decorations. Remember to have fun with the process and let your imagination run wild.
## Unleash Your Inner Artist: Confetti Design Secrets
To achieve truly professional-looking confetti, pay attention to the details. Use sharp scissors or a craft knife to ensure clean and precise cuts. Invest in high-quality paper or other materials that will hold their shape and color. Experiment with different textures and finishes to add visual interest. Consider using a variety of different shapes and sizes of confetti to create a dynamic and engaging design. For example, you could combine large pumpkin shapes with smaller star shapes to create a sense of contrast and balance. You can also use different colors of confetti to create patterns or gradients. For example, you could create a rainbow effect by layering different colors of confetti in a specific order. Remember to consider the overall aesthetic of your Halloween decorations when choosing your confetti designs.
Think about incorporating personalized elements into your confetti designs. You could create confetti with your family’s initials or with the names of your party guests. You could also create confetti with images of your favorite Halloween characters or symbols. For example, you could create confetti with images of bats, ghosts, or spiders. To personalize your confetti, you can use a variety of different techniques, such as printing, stamping, or hand-drawing. You can also use stencils to create precise and consistent designs. Remember to choose colors and fonts that complement your overall theme and décor. Personalized confetti is a great way to add a special touch to your Halloween celebrations and make them even more memorable.
Don’t be afraid to experiment with unconventional materials and techniques. Try using dried leaves, flower petals, or even spices to create unique and fragrant confetti. You could also try using different types of glitter, such as holographic glitter or iridescent glitter, to add a touch of sparkle and shine. Consider using different adhesives to create different effects. For example, you could use a spray adhesive to create a light and airy confetti effect, or you could use a strong glue to create a more permanent and textured effect. Remember to always test your materials and techniques on a small sample before applying them to your final project. With a little experimentation, you can discover new and exciting ways to create stunning and unique Halloween confetti.
Transform Your Party: Confetti Magic Awaits
Homemade Halloween confetti offers a delightful way to personalize your spooky celebrations. From eco-friendly options like dried flower petals to dazzling designs using glitter and cutting machines, the possibilities are endless. Whether you’re scattering it on tables, adding it to treat bags, or incorporating it into crafts, confetti brings a touch of whimsy and festive cheer to any Halloween event. Remember to prioritize safety, choose non-toxic materials, and store your creations properly for future use.
Ready to Sprinkle Some Spookiness?
What unique confetti creations will you conjure up this Halloween to make your celebration unforgettable?
Q: What is the best way to clean up confetti after a party?
A: A vacuum cleaner or broom works well for larger areas. For smaller spaces, a damp cloth can help pick up stray pieces.
Q: Can I make confetti with my kids?
A: Yes! Making confetti is a fun and easy activity for kids. Just be sure to supervise them closely and use non-toxic materials.
Q: How long will homemade confetti last?
A: If stored properly in an airtight container, homemade confetti can last for several years.